
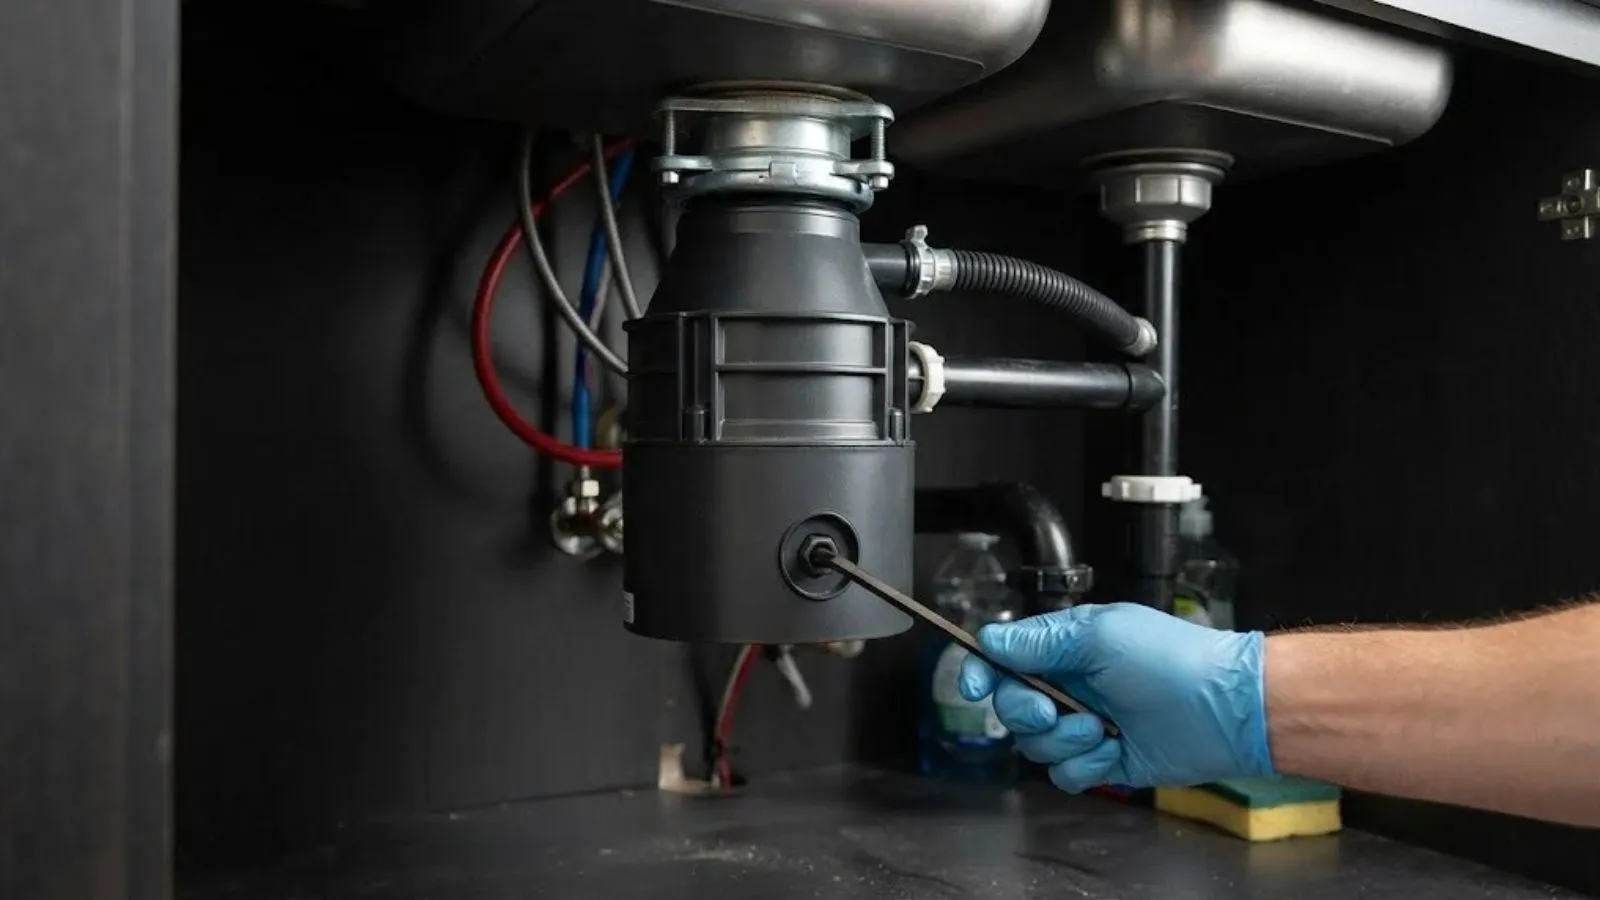
Tools and parts to lay out before you shut the water off
Gather these first, because the water stays off while you hunt for a missing part.
- Hand tools. Adjustable wrench, channel pliers, screwdrivers, a hammer, and a flashlight or headlamp.
- Sealant. Plumber's putty for the sink flange, and silicone caulk for the sink rim if the sink instructions call for it.
- Disposal kit. Check that the box includes the mounting assembly, the gasket, and a power cord, or buy a cord kit if the unit is hardwired.
- Drain parts. A new trap, a tailpiece, and a discharge elbow. Old slip nuts and washers often fail when reused.
- Cleanup gear. A bucket, rags, and a dry towel to lay inside the cabinet for the leak check.
The sink first: setting a drop-in or undermount basin
Work from the top down, and measure twice, because a cutout is hard to take back.
- Shut off and disconnect. Close both supply valves, open the faucet to relieve pressure, then remove the old drain, trap, and clips. Cut any caulk with a utility knife before lifting the old sink.
- Check the cutout. Trace the new sink template and compare it to the opening. Trim only if the countertop material allows it, and ask the fabricator before cutting stone or solid surface.
- Mount the faucet and strainer. Install the faucet on the sink before it goes in, since the space under the counter is tight. Set the basket strainer with a ring of putty.
- Seat the sink. Apply sealant to the rim, lower the sink, and tighten clips evenly from the underside. Wipe squeeze-out right away.
Hanging the disposal: flange, mounting ring, and the knockout plug
This is where most leaks begin, so take it slowly.
- Set the sink flange. Press a rope of putty under the flange lip and push it into the drain opening. From below, slide on the gasket, backup ring, and mounting ring, then snap the retaining ring into place.
- Tighten the mounting screws. Turn the three screws a little at a time so the flange pulls down level. Trim the squeezed putty from the top with a plastic scraper.
- Knock out the dishwasher plug. If a dishwasher drain hose will connect to the disposal, remove the plug in the side inlet first. Insert a screwdriver and tap it out, then fish the plastic disc out of the grinding chamber.
- Hang the unit. Lift the disposal onto the mounting ring, line up the tabs, and rotate until it locks. Keep the discharge outlet pointing toward the trap.
- Connect the discharge and drain. Bolt on the discharge elbow with its gasket, then run the pipe to the trap. The drain should slope gently toward the wall with no sag where water could pool.
Leak points and fixes after the first test
Run water into the sink and watch each joint on a dry towel before you close the cabinet.
| Where it drips | Usual cause | Fix |
|---|---|---|
| Under the sink flange | Putty gap or uneven mounting screws | Loosen, reseat with fresh putty, retighten evenly |
| Between mounting ring and unit | Gasket not seated | Remove the unit and recheck the gasket |
| Discharge elbow | Missing or crushed gasket | Replace the gasket and snug the bolts |
| Trap slip nuts | Washer cut or pipes misaligned | Realign, then replace worn washers |
| Dishwasher hose connection | Loose hose clamp | Retighten the clamp, then check the knockout was opened |
Drain alignment: the quiet cause of slow drains and leaks
A disposal outlet sits at a fixed height, and the trap must meet it without forcing pipes sideways. If the drain stub in the wall is too high or too low, you may need an extra elbow or a trap adapter. Forcing a misaligned pipe tight may hold on day one and leak by week two.
Keep the horizontal run short and sloped, and do not tie into the wall stub with a steep upward bend. Water that stands in the trap carries food scraps and starts the smell people blame on the disposal itself.
Final checks before you flip the switch
Power and water should both be proven safe before the first grind.
- Confirm the power source. A plug-in unit needs a grounded outlet under the sink. A hardwired unit needs its wires connected inside the junction box, which is electrical work. We do not do electrical work, so hire an electrician if that part is unclear.
- Run cold water first. Turn the supply back on, fill the basin, and let it drain while you look for drips.
- Test with the disposal on. Run cold water, switch the unit on for ten seconds, and watch every joint again.
- Recheck in an hour. Wipe each joint dry and check once more. Slow seeps often take a while to show.
Colton details worth knowing before you start
The City of Colton Development Services Department, Building Division, handles permits and can say whether a sink or disposal swap needs one in your case. Call them to ask before you open walls, and ask whether the California Plumbing Code edition in force affects your trap or venting. We do not state permit rules from memory.
The city's Consumer Confidence Report lists average hardness near 207 mg/L, which is very hard water. Expect mineral crust on faucet aerators, the strainer, and old putty lines, so clean those parts and the sink opening well before you reseal. Scale left under a flange makes it harder to get a tight bond.
About 28.5 percent of Colton homes were built from 1980 to 1989, the largest building decade, and about 49.6 percent of units are renter-occupied. In older kitchens the original drain parts may be brittle, so replace the trap and tailpiece instead of reusing them. If you rent, get written permission from the landlord before changing plumbing.
If the cabinet drain looks corroded or the stub is badly out of line, stop and call us. We work on kitchens in Colton, San Bernardino, and Grand Terrace, and a licensed plumber can redo the drain stub so the new disposal fits cleanly.
Frequently asked questions
Most standard sinks with a 3.5 inch drain opening accept one. Check that the sink bowl and the cabinet leave room for the unit and the trap. A sink with a very shallow cabinet may need a smaller disposal.
It is a thin plastic disc inside the disposal's dishwasher inlet. Remove it only if the dishwasher drain hose connects to the disposal. If you leave it in, the dishwasher will back up. If you forget and install first, take the unit down and fish the disc out of the chamber.
Not if you have a grounded outlet under the sink and a plug-in cord kit. Hardwired connections should be done by a licensed electrician. We do not do electrical work.
A disposal swap often takes a couple of hours for a first-timer, and a full sink replacement takes longer because of the cutout and cure time for sealant. Plan on a day if the cabinet needs repair.
Ask the City of Colton Building Division, because permit rules vary by scope. A like-for-like swap may be treated differently from a new drain line or a new sink location.
Hard water leaves mineral scale on seals, fittings, and the sink opening, but it does not stop a disposal from working. Wipe and descale visible parts now and then, and run cold water while grinding.